This week has been all about painting! There is hardly a surface in the girl’s bathroom that has not been touched by a paint brush this week.
.
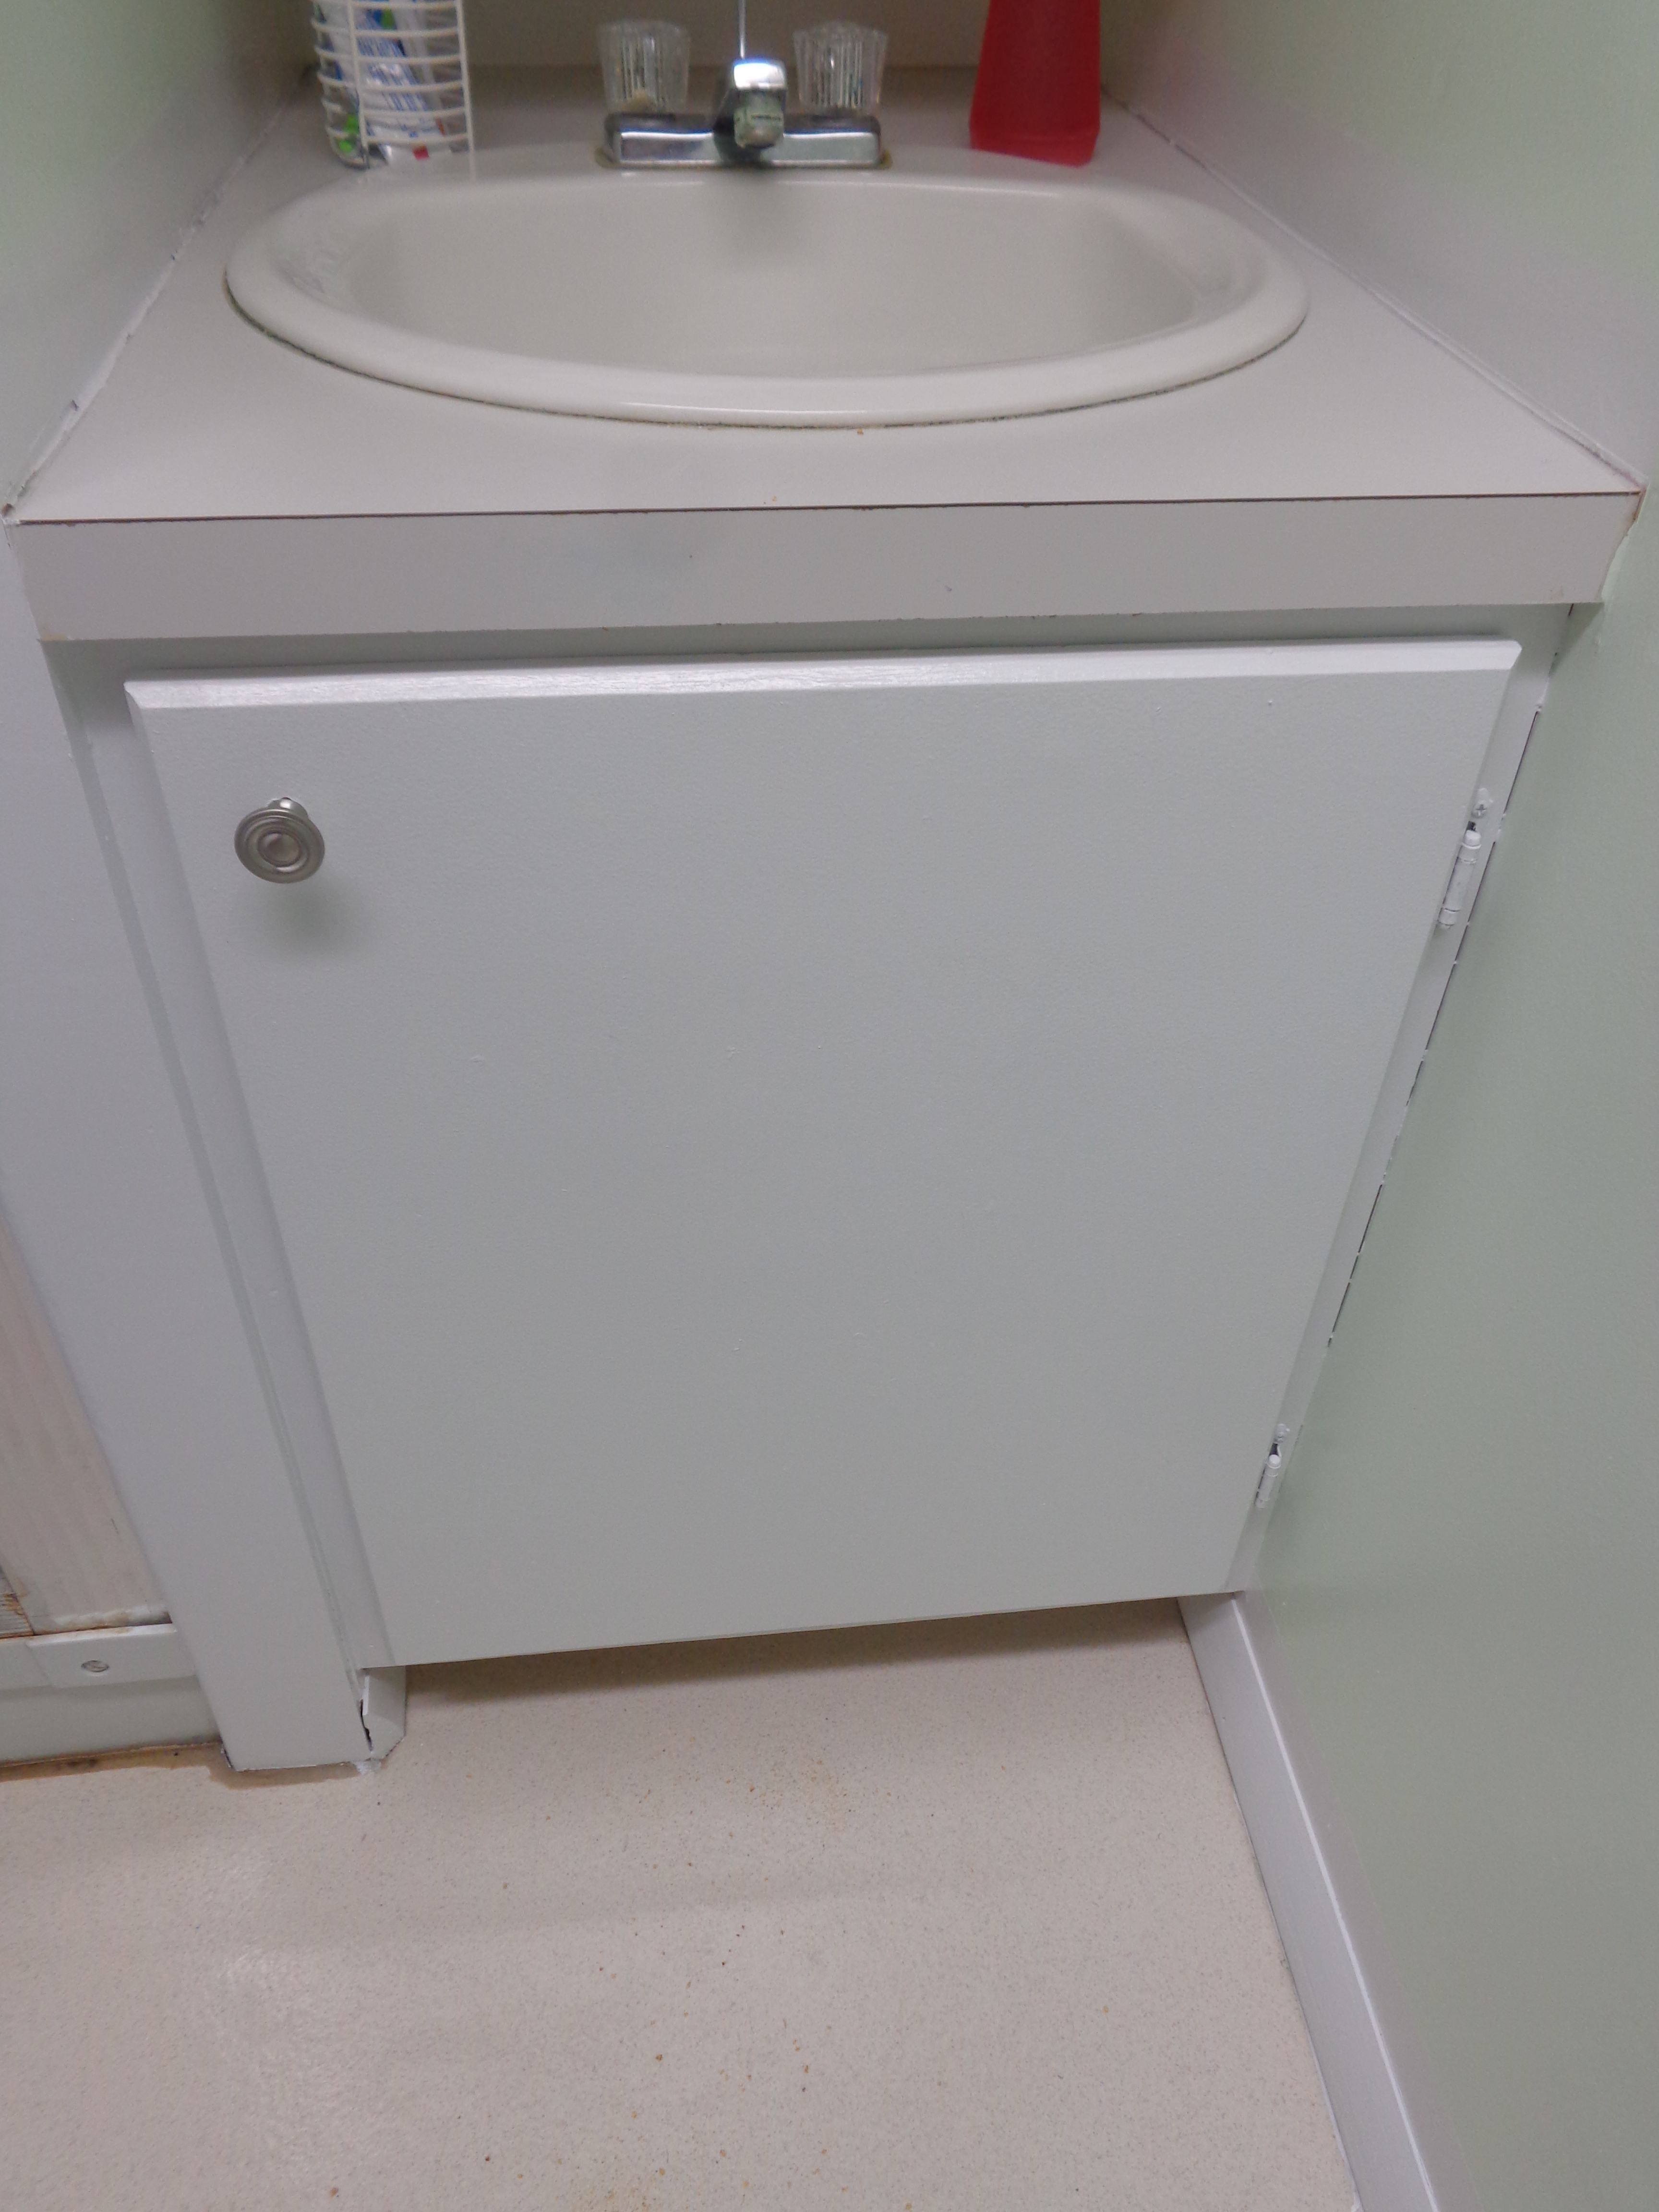
So you’ve already seen the walls’ transformation, now take a look at the cabinets!
.
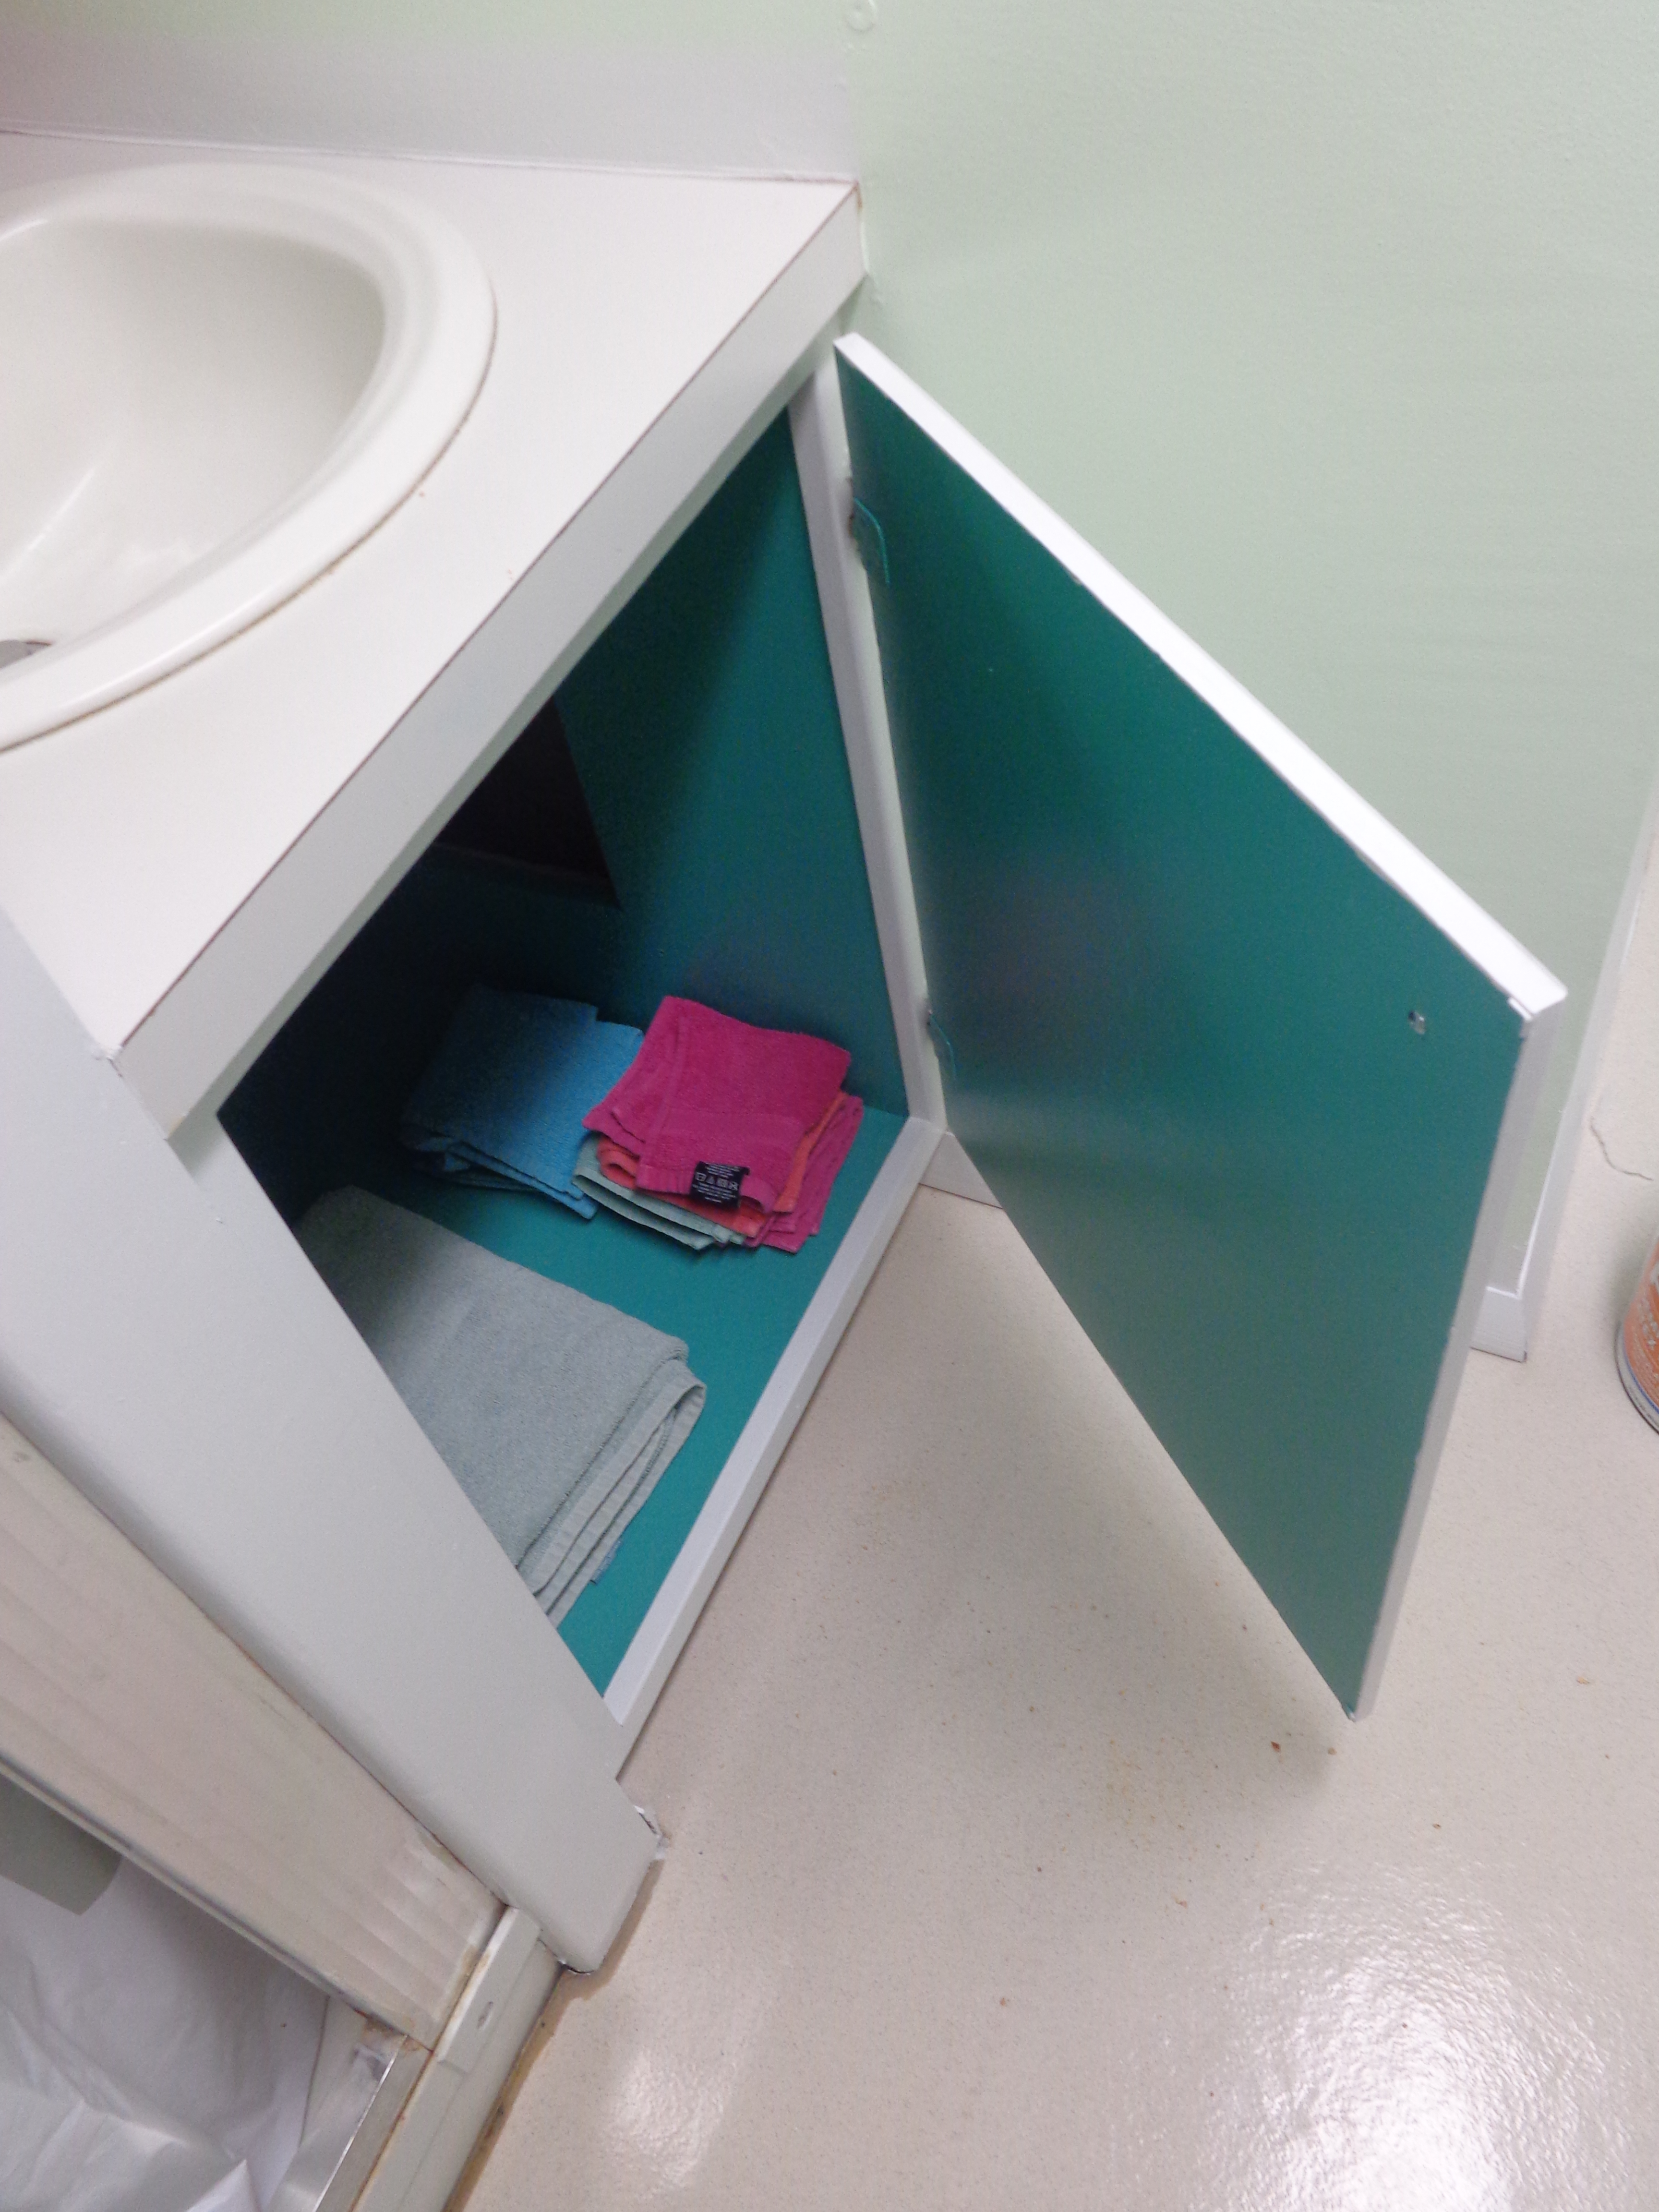
We wanted to use what we had, brighten up that windowless room, and update the overall look of the bathroom. That is why we used the super light aqua on the walls and white for all of the trim, cabinets, and woodwork in there. On the inside of the cabinets, though, it was all fun.
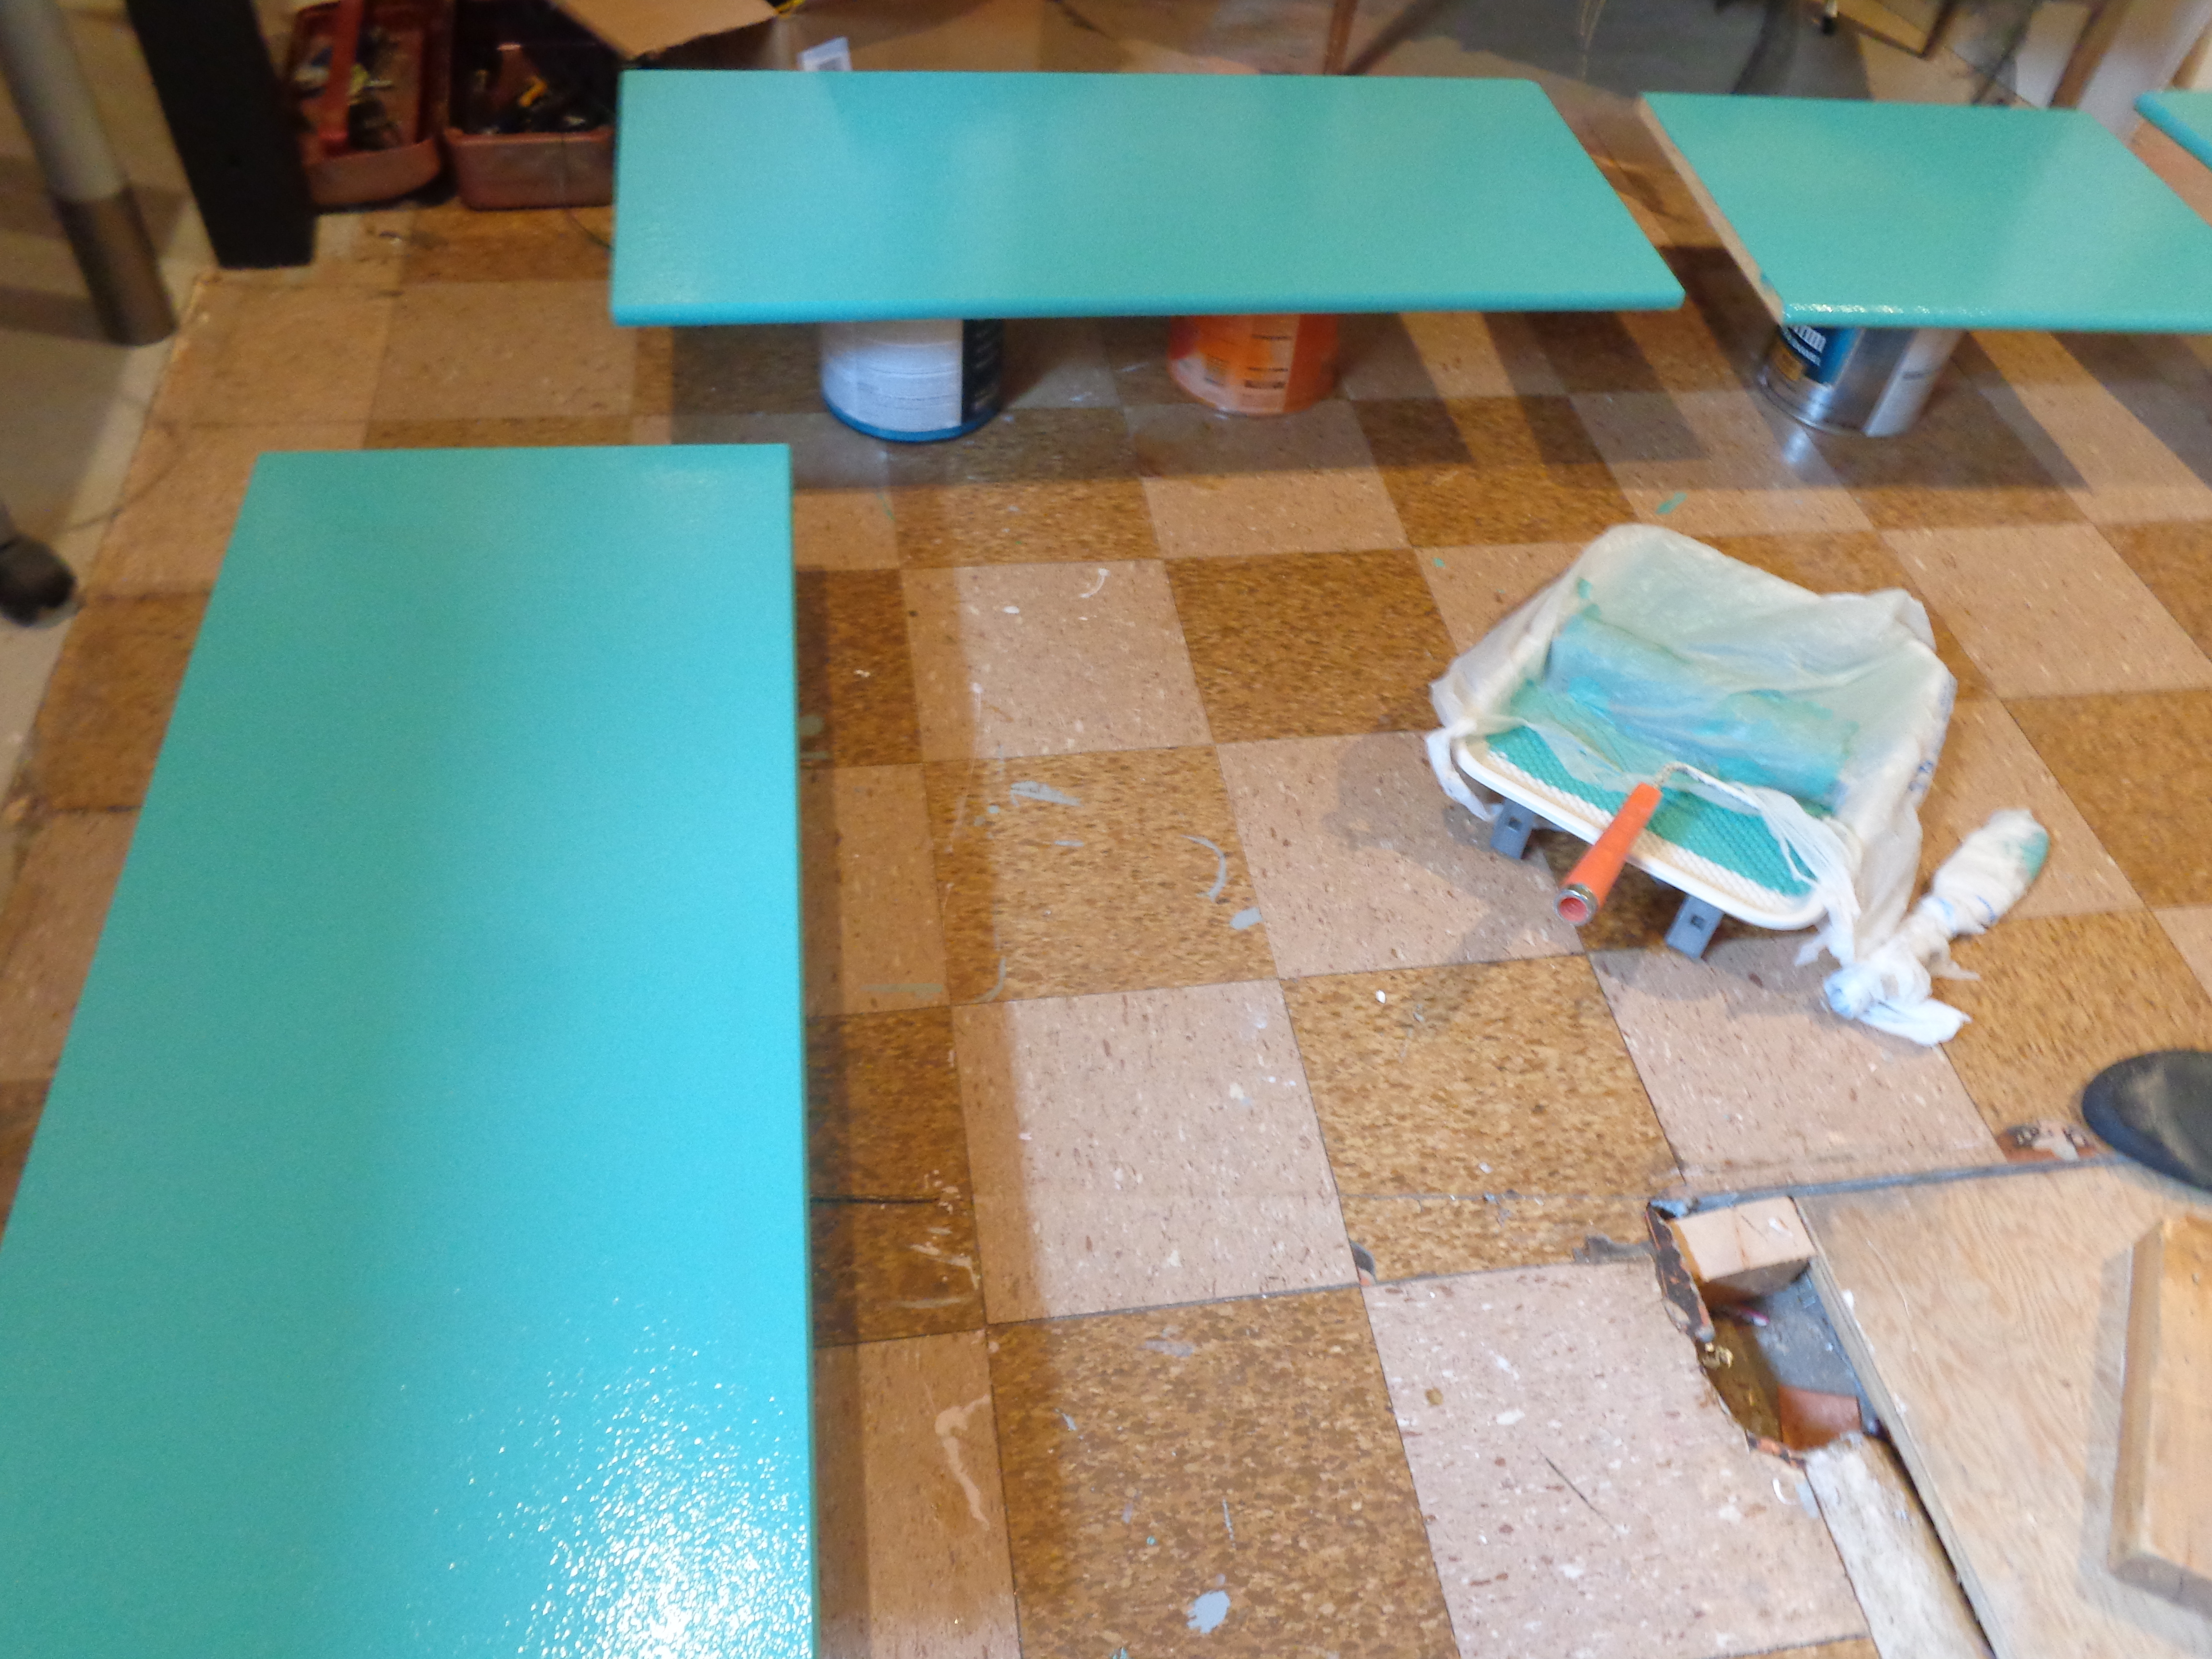
That’s right BRIGHT teal! 🙂
Not only was it a $7 gallon find in the mis-tint section of our local hardware store, but it was also the perfect fun, bright compliment to the wall color! Win-Win!!
.
While the outside of the cabinets were done in white, the inside is where the punch of color happens! (kind of like I did here with my West Elm knockoff dresser for our room ) I do love an unexpected pop of color here and there. It helps to keep life interesting and every time you open the cabinet, drawer, whatever, you can’t help but smile a little bit.
.
I always like to do the cutting in, or edges, with the paint brush first, then do the roller. It seems to look better that way. So that’s exactly what I did here, after I removed the shelves from inside; brush then roller, brush then roller.


.
Then I propped the cabinet shelves and doors up on paint cans and started rolling paint onto both sides of the shelves and just the inside of the doors.
.
This part of the process went very quickly and very well! Don’t you just love that? Although I did realize that one of my “painting shirts” has gotten a little too old and thin to be used anymore. My stomach looked like a picasso when I took it off!
.
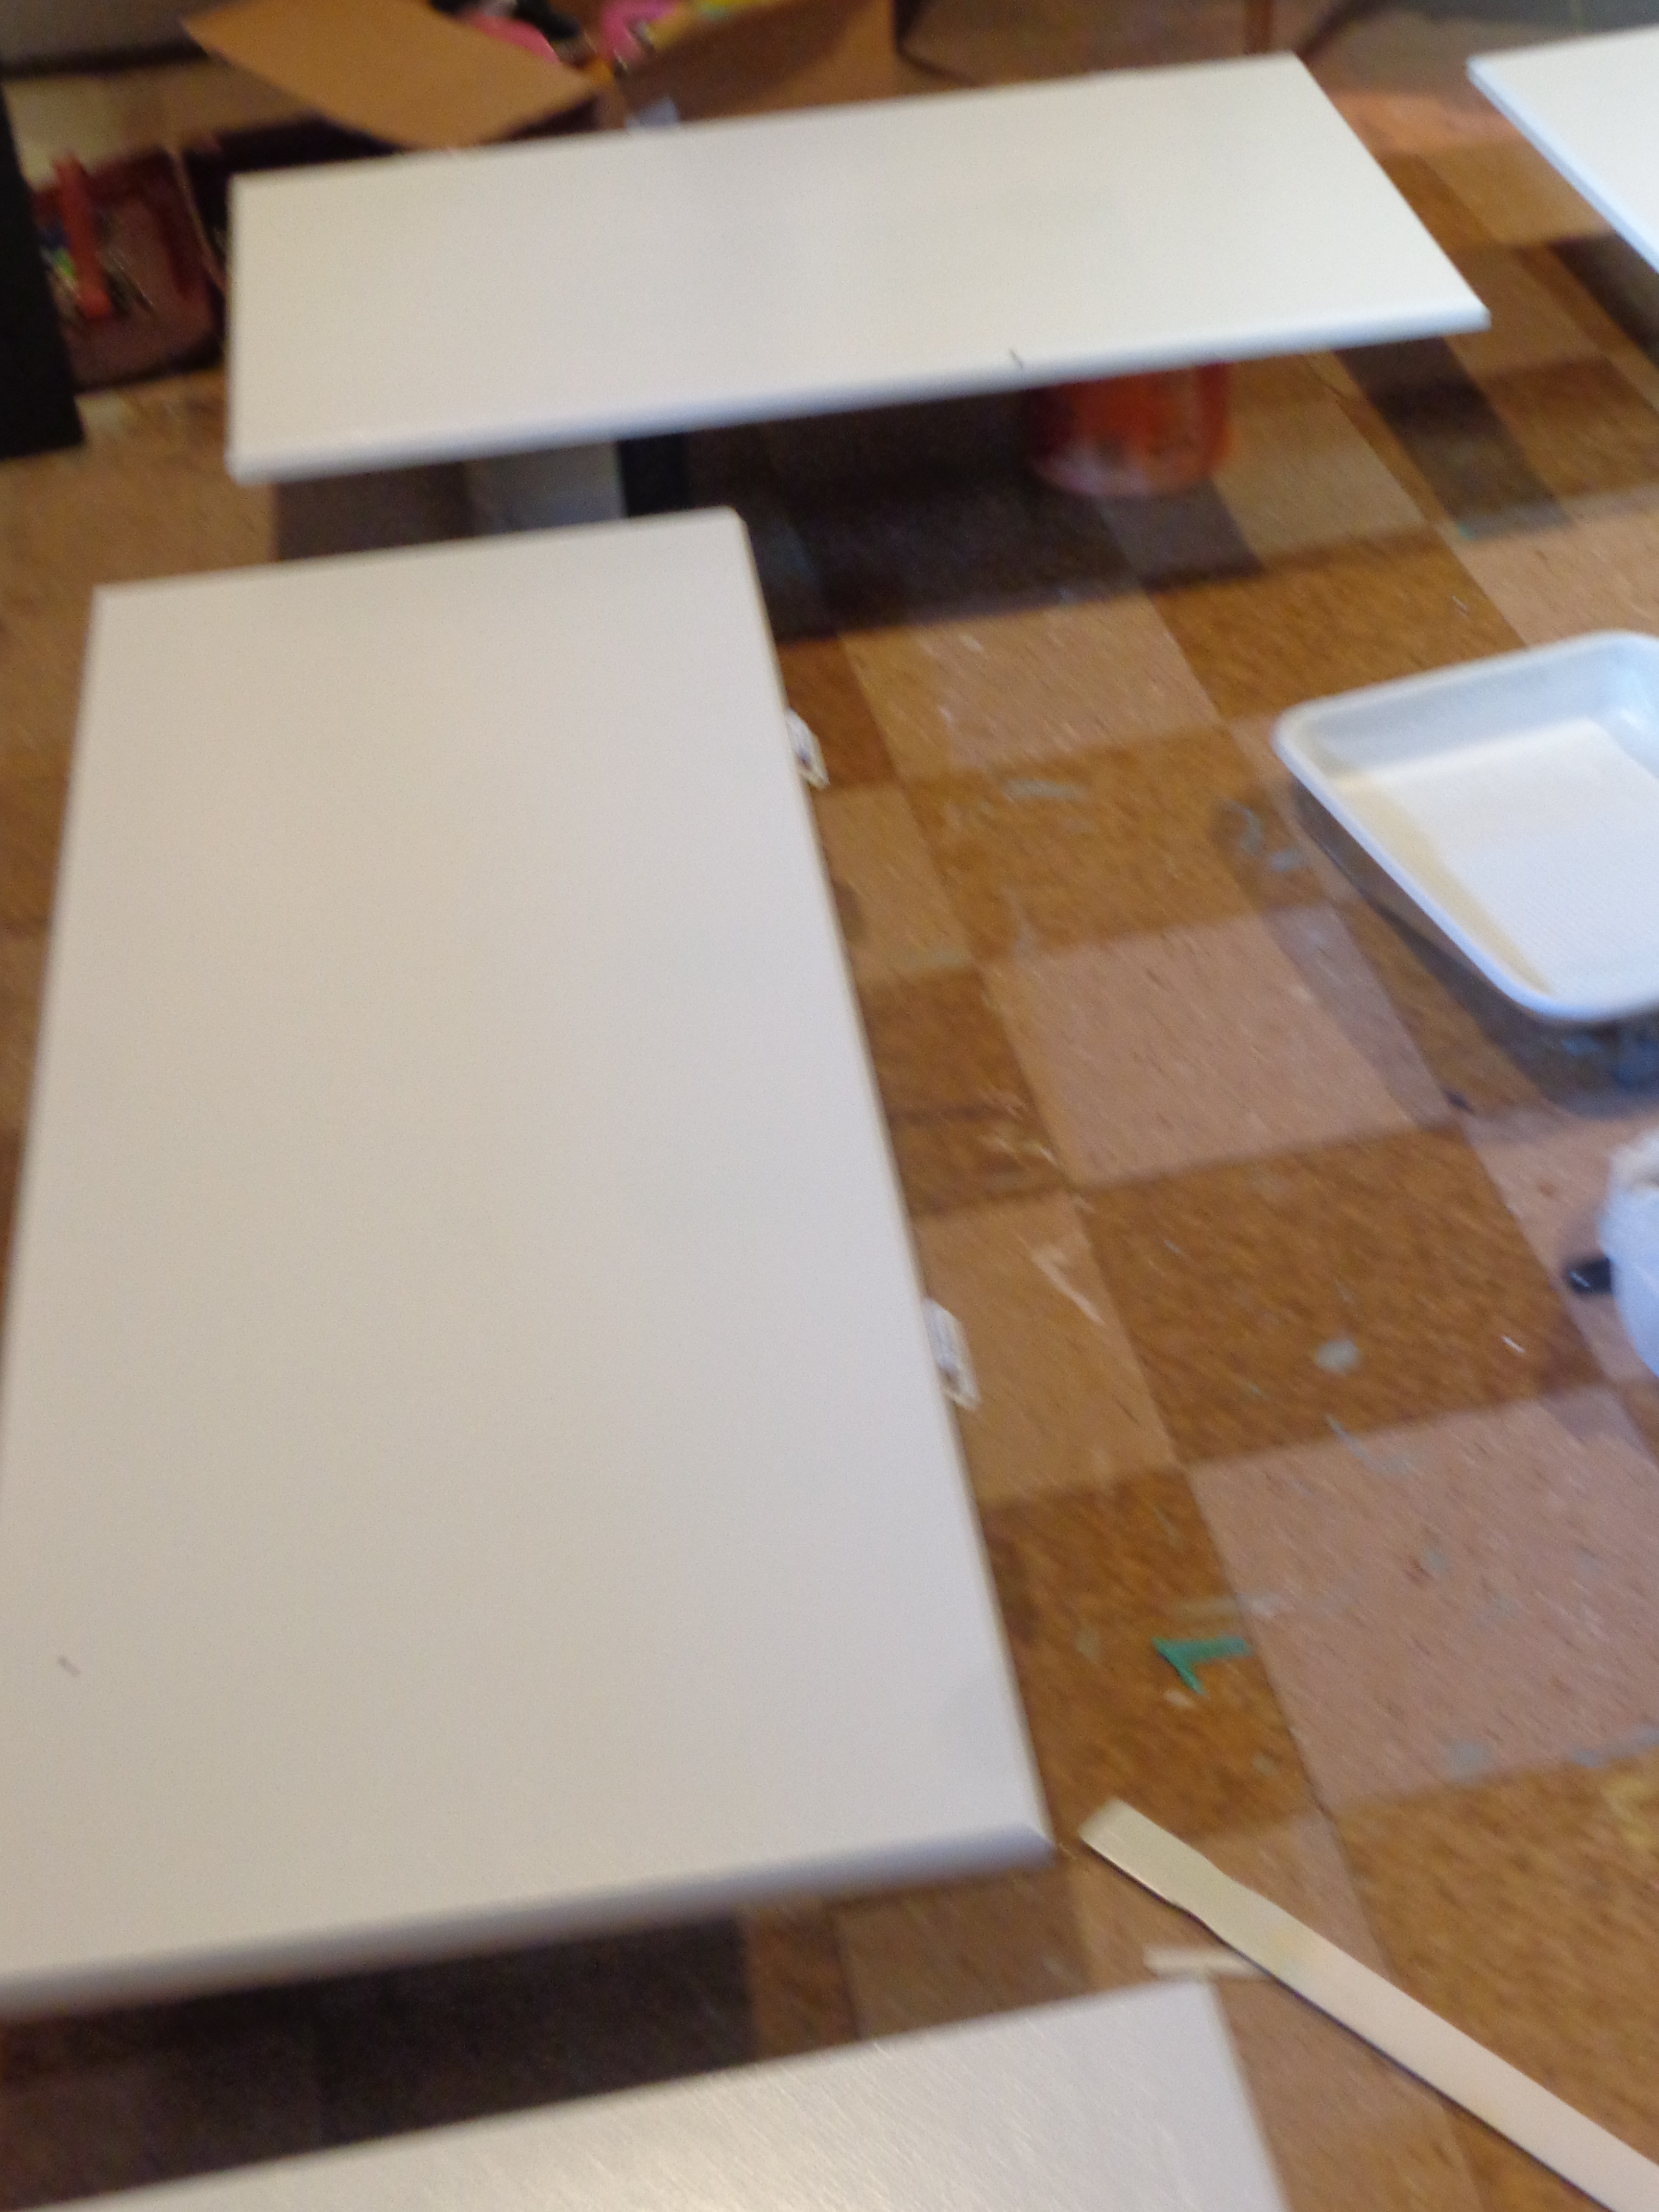
The last step was to flip the doors over (once the teal was completely dry) and paint the outside of them white and viola! Pretty new cabinets!

.
After I put the shelves back in, I let the paint cure for a day before setting anything on it. That way the items wouldn’t get stuck to the paint and leave marks.

Isn’t it puuuuurdy? 😀
.
Last week I went through the clothes that we had put away for the girls to grow into (hand-me-downs). There will be a post about simplifying children’s wardrobes coming up, but long story short, I purged, and got all of the hand-me-downs into 5 large Ikea Kassett boxes. Since we have oodles of storage in their bathroom and not a lot of things to actually store in there, I decided that the cabinet behind the toilet would be the perfect place to store clothes yet to be grown into and the guest towels! I am so smart.
Well…
at least that’s what I like to tell myself.
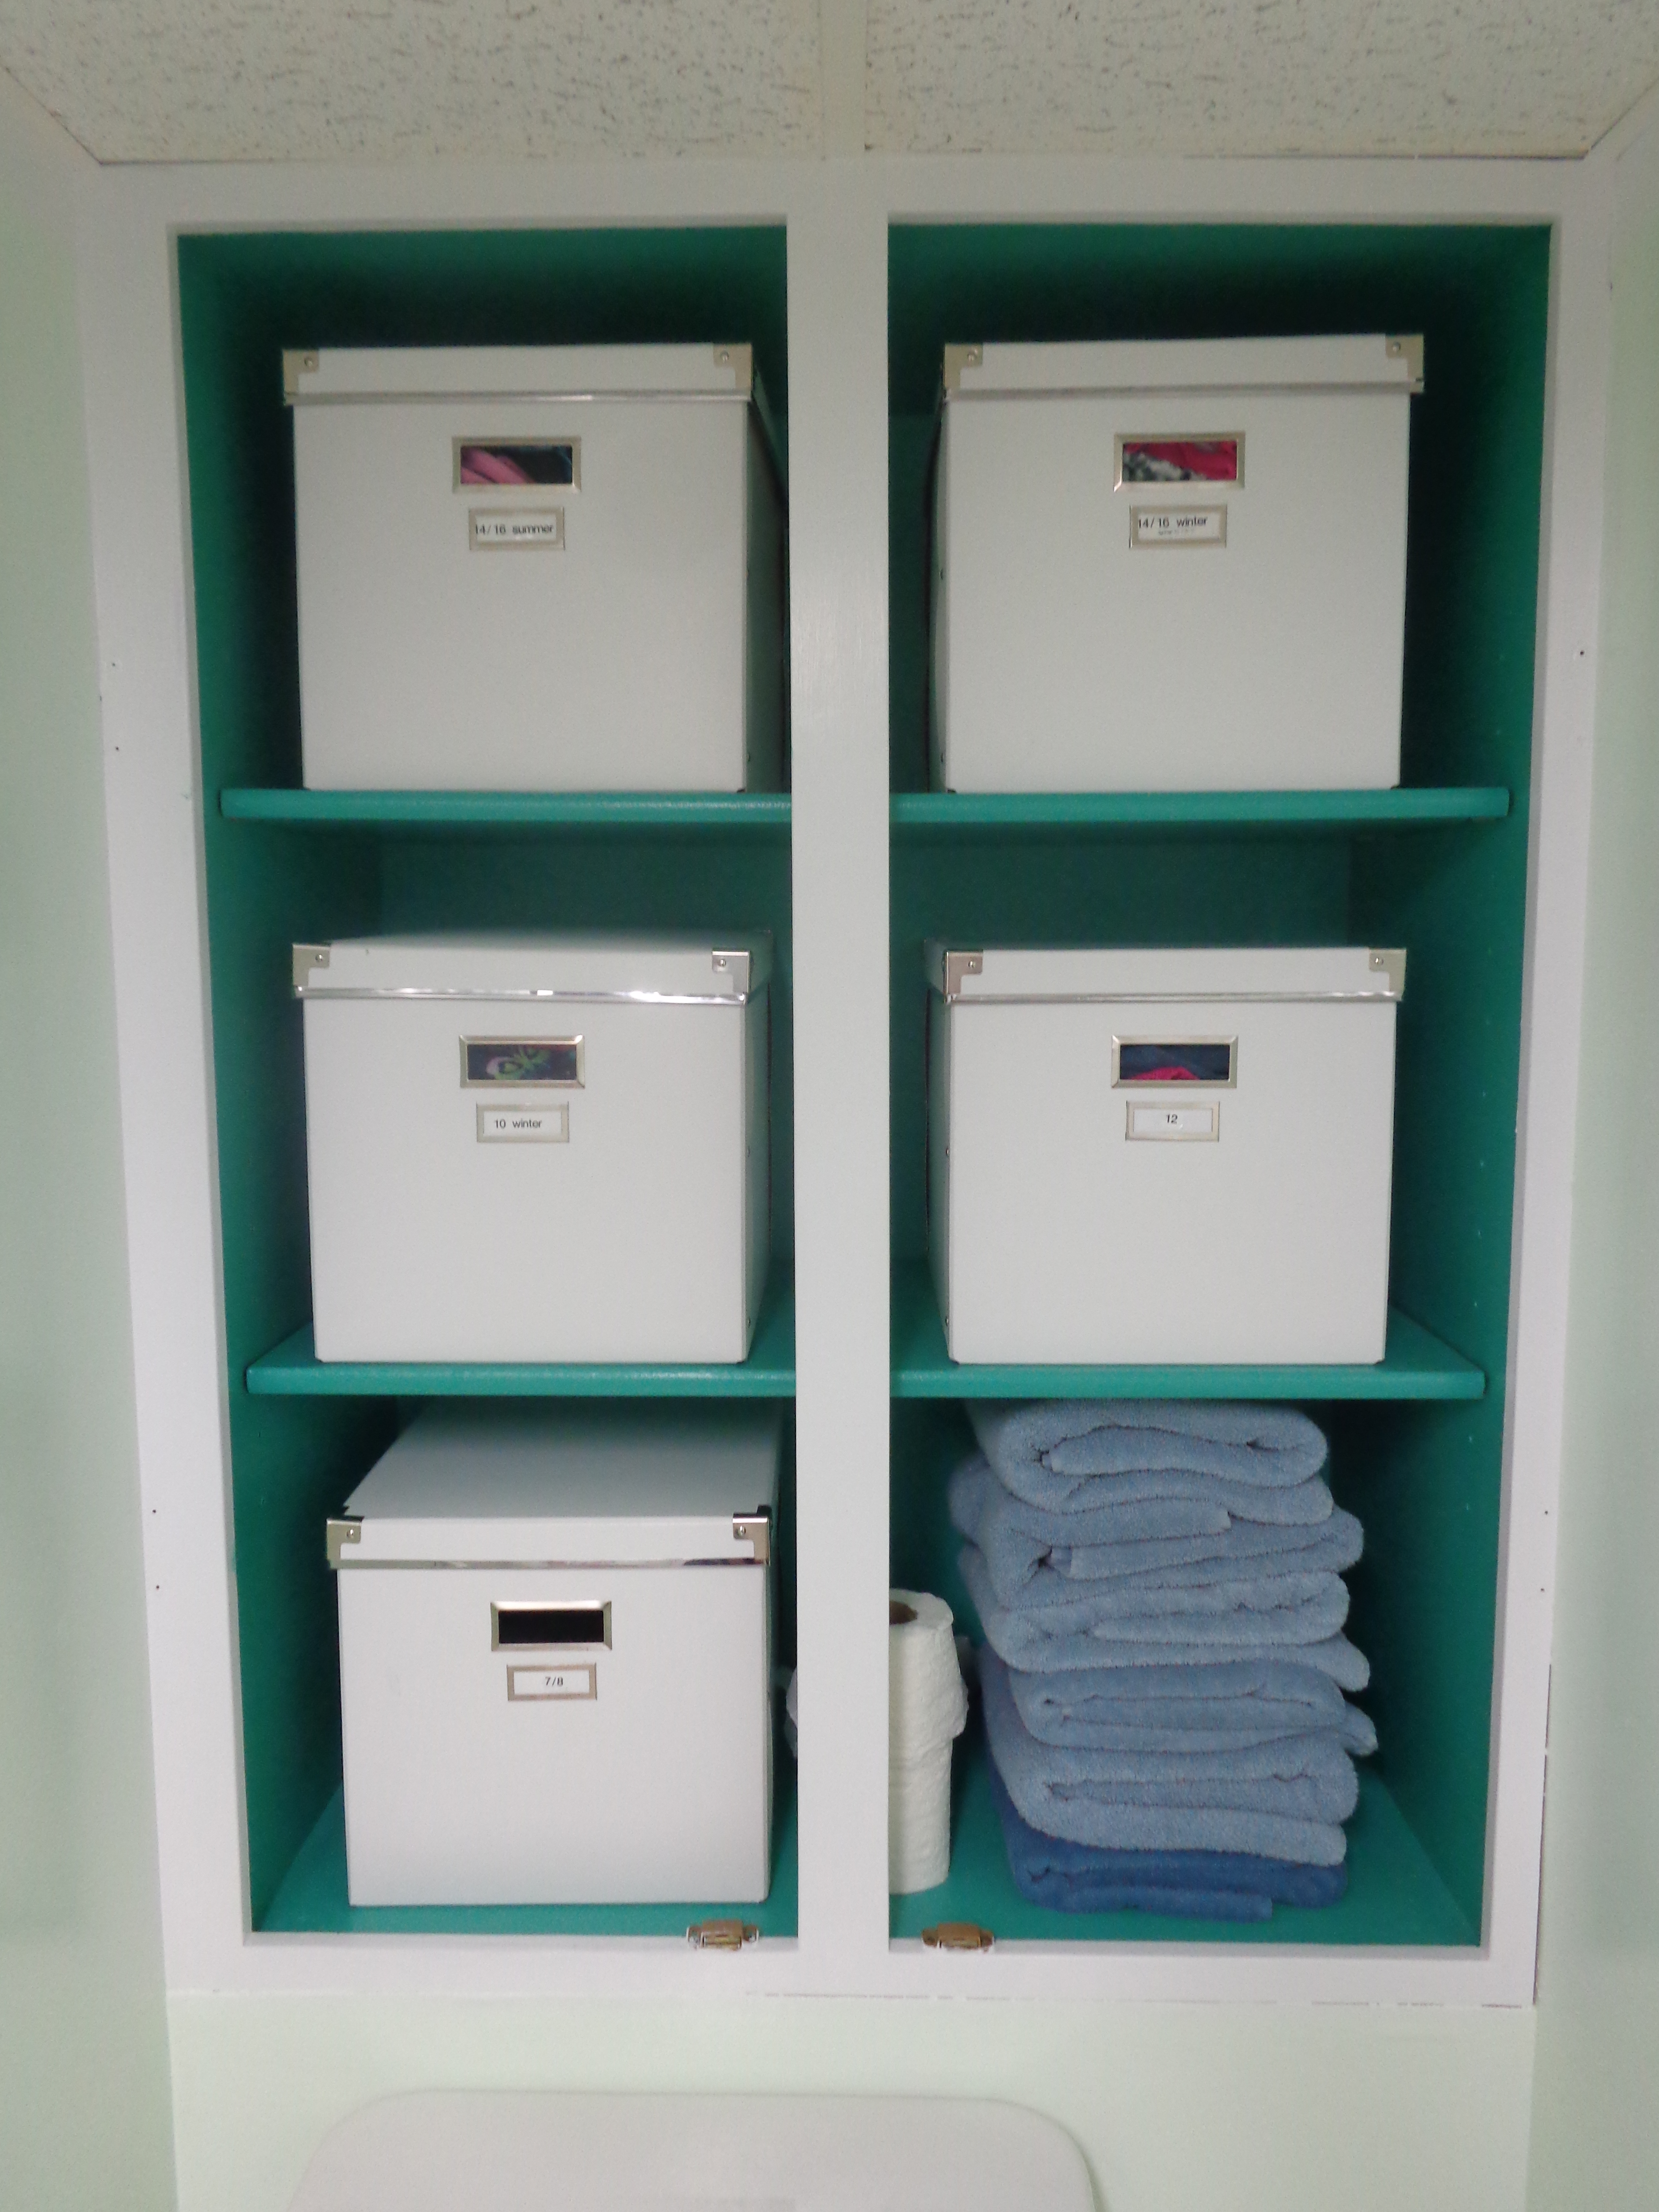
Their toiletries are stored in the cabinet above the sink and the towels and washcloths are stored in the one below the sink.

.
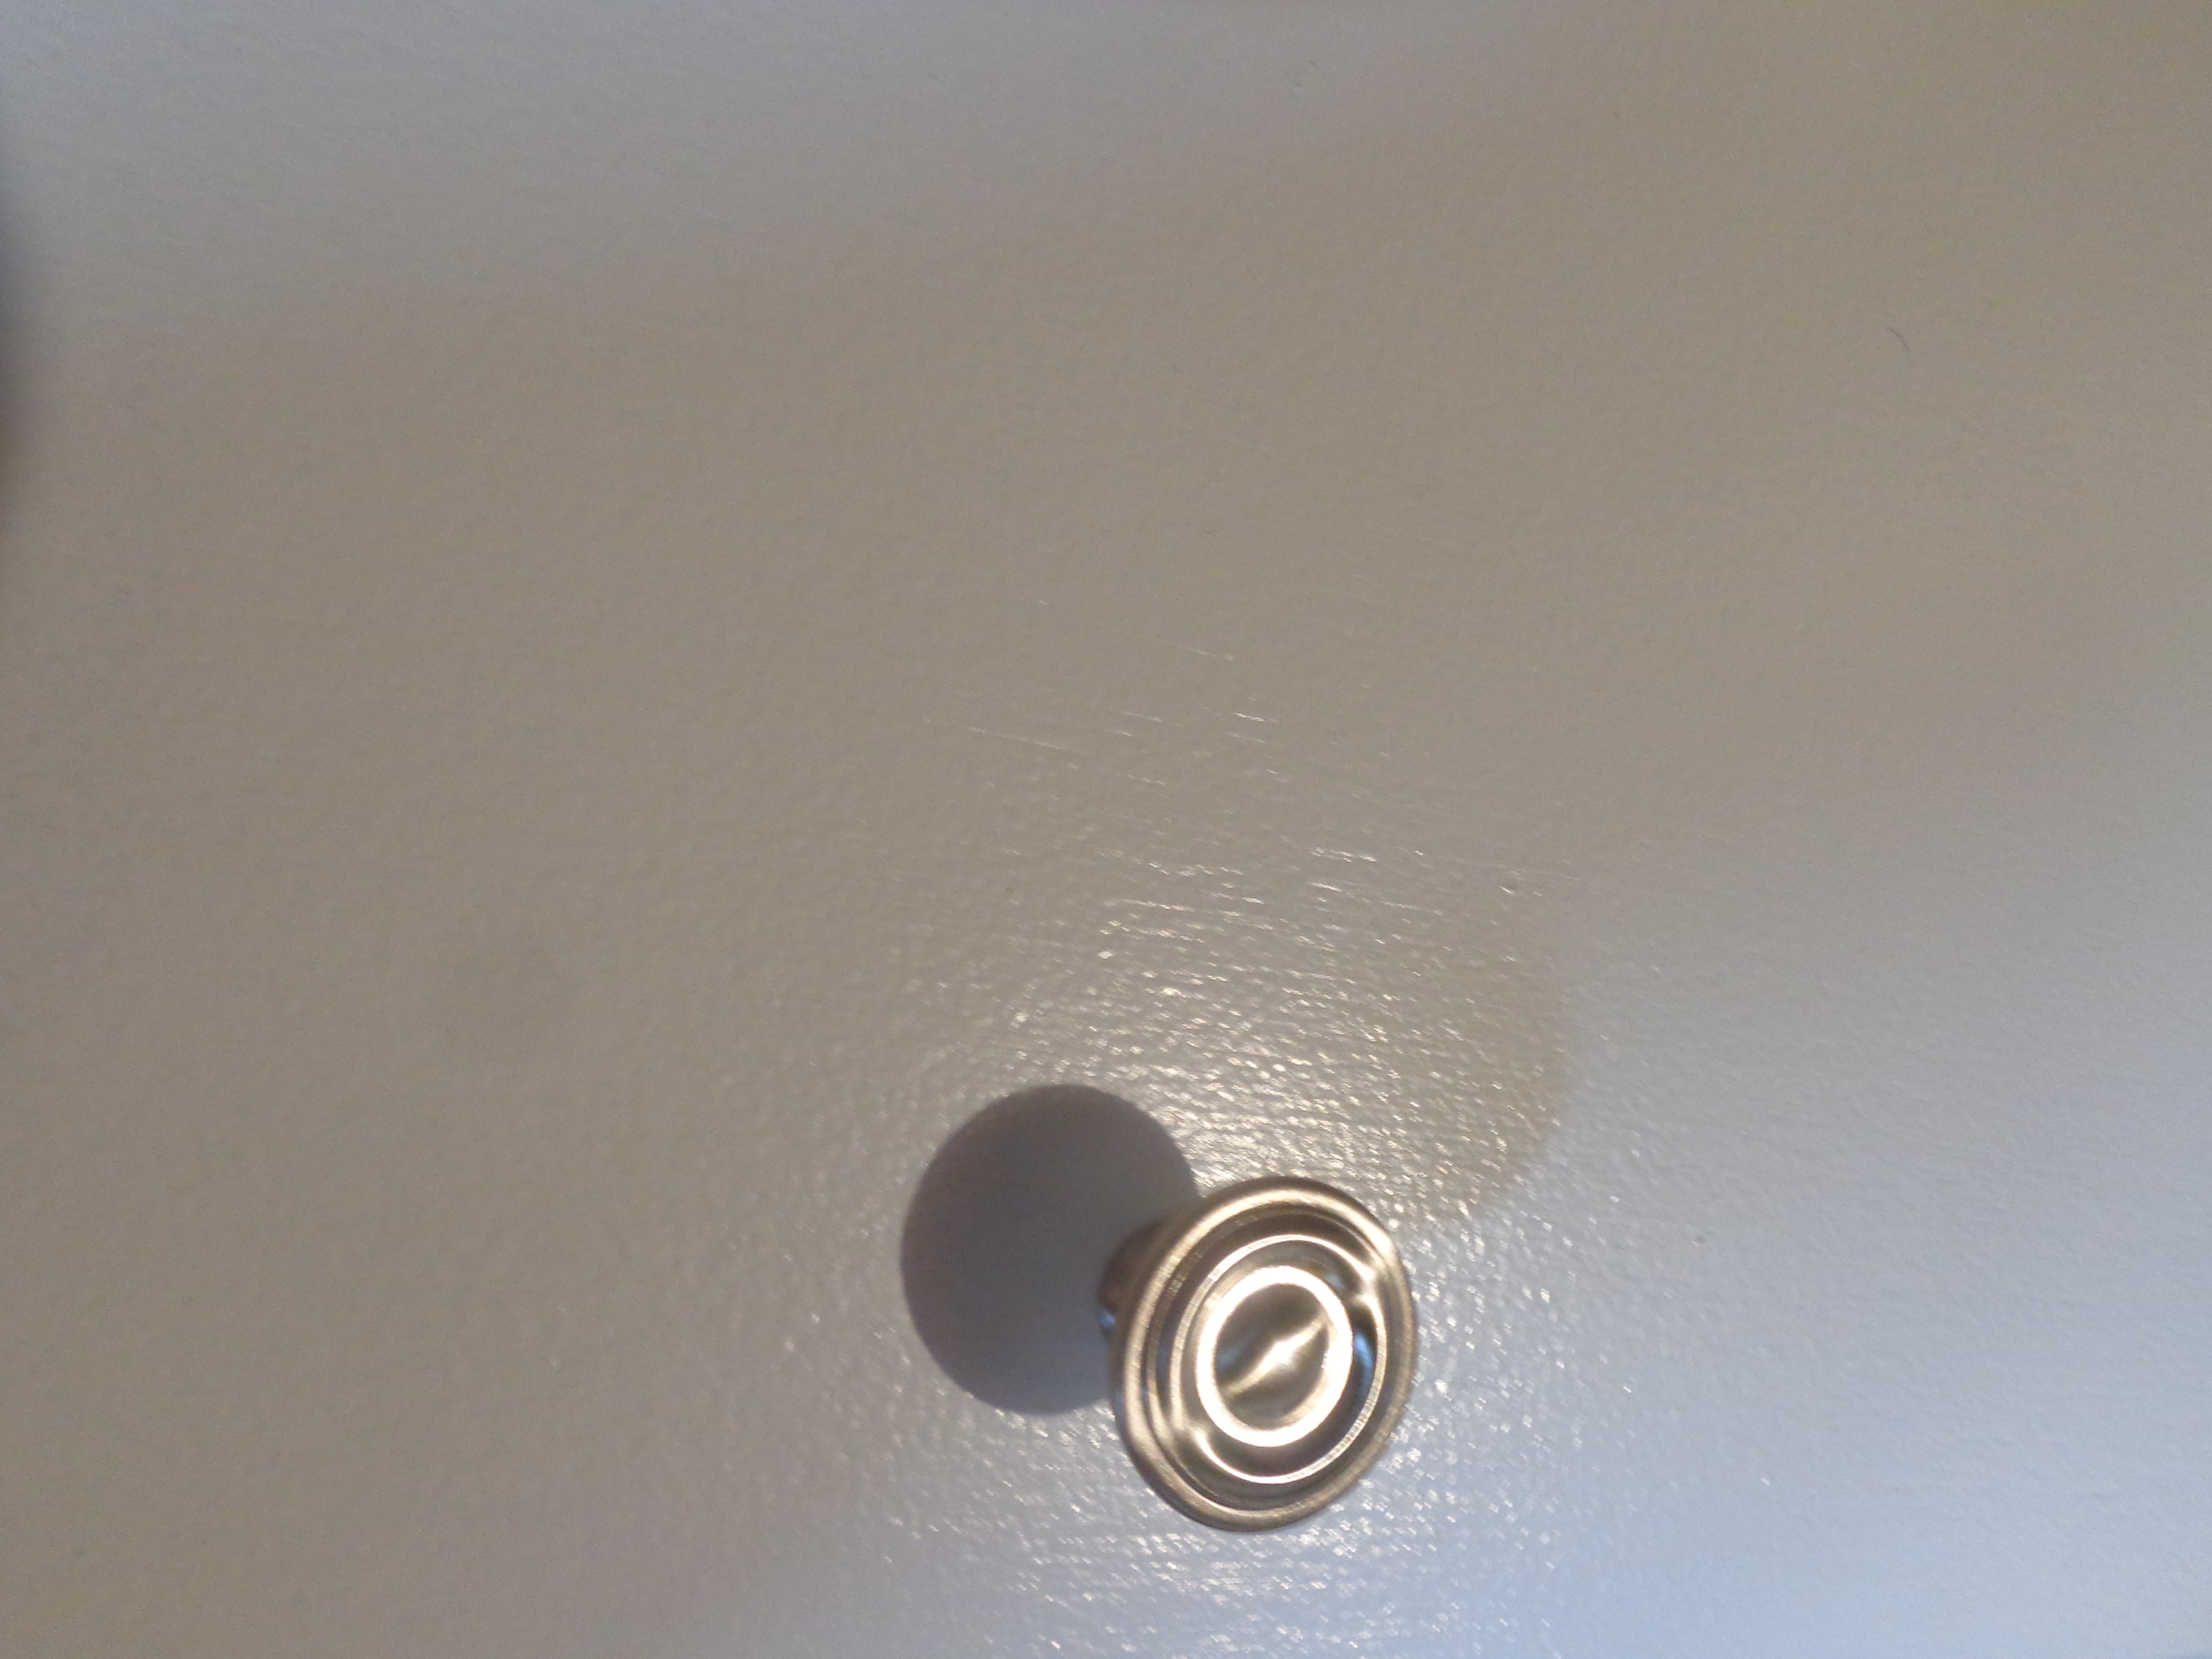
I had some leftover cabinet hardware from a previous project, so I decided to put one of those on each cabinet door. The two doors for the cabinet behind the toilet already had hardware pulls on them, but the two around the vanity did not. If you want to put a knob on a door that doesn’t have one, just drill a hole and viola! Instant update for cabinetry!
.
Adia and I reattached the mirrow to the front of the cabinet door above the sink and put the doors back up. I also went over the screws in the hinges with a bit of white paint once they were all back up, so they wouldn’t stick out like a sore thumb.
Hmmmmmmm. Do you ever wonder where certain expressions came from?
“Like a sore thumb”…………..

.
So here’s the finished cabinets! I am so thrilled that our children will be out of our bathroom and back into their own!


.
Stay tuned for tomorrow’s post, when you see the completely finished downstairs bathroom! 🙂
.
LIVE SIMPLY AND CHANGE THE WORLD!!
